Getting started
From no account to a published post, in order.
There are four things to do: make an account, make a blog, write something, publish it. None of them take long, and none of them ask for a credit card. This guide walks through each screen you will see on the way.
1. Create an account
Sign up at app.ultrv.com/register. The form asks for four things: your name, your email address, and a password twice.
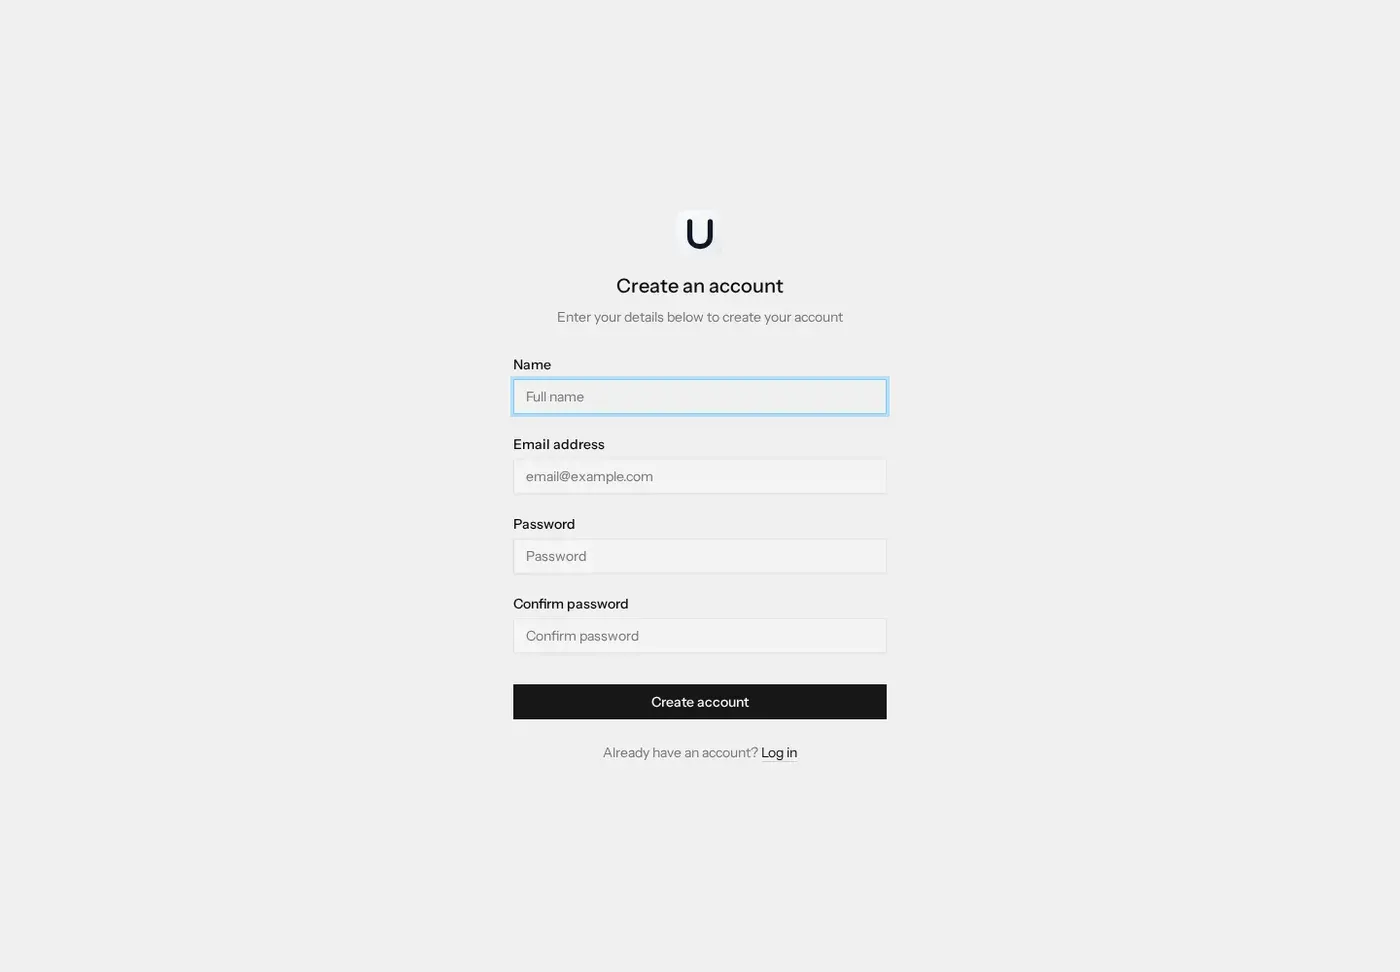
The name is what you are called in the account, not what appears on your writing — the byline is set per blog, in the next step, so one account can publish under different names. There is no payment step and no plan to choose: the free tier includes a .ultrv.blog address and custom domains at no extra cost. See pricing for what the paid plan costs.
Once the account exists you land on your Blogs list, which is empty.
2. Understand what a blog is here
A blog is a self-contained site: its own posts, its own pages, its own theme, its own settings, its own address. An account holds as many of them as you want, and they share nothing but the login. That is the point of the Blogs list — it is a shelf, not a dashboard.
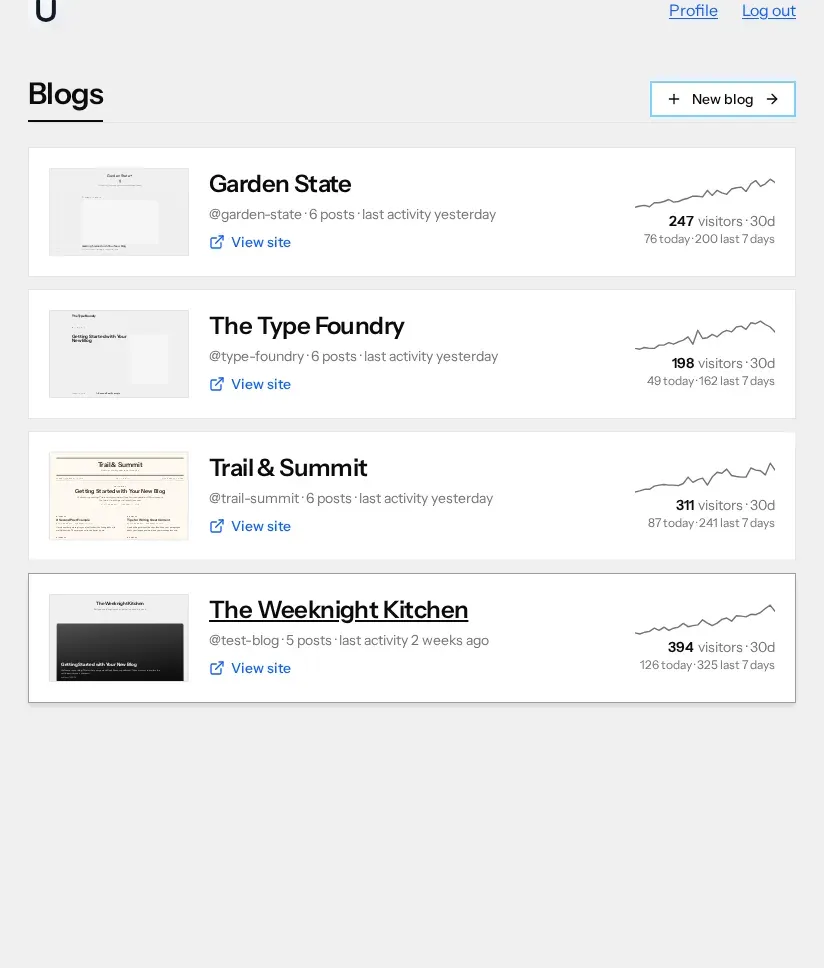
Each row carries a thumbnail rendered in that blog's own theme, its handle, how many posts it has, when it last changed, and a sparkline of the last 30 days of visitors. Clicking the row opens the blog's posts; clicking the sparkline opens its statistics; View site opens the public blog in a new tab. Four blogs in one account is a normal thing to end up with: a main one, a work notebook, something under a pseudonym, and one you abandoned.
3. Create your first blog
New blog opens a short form.
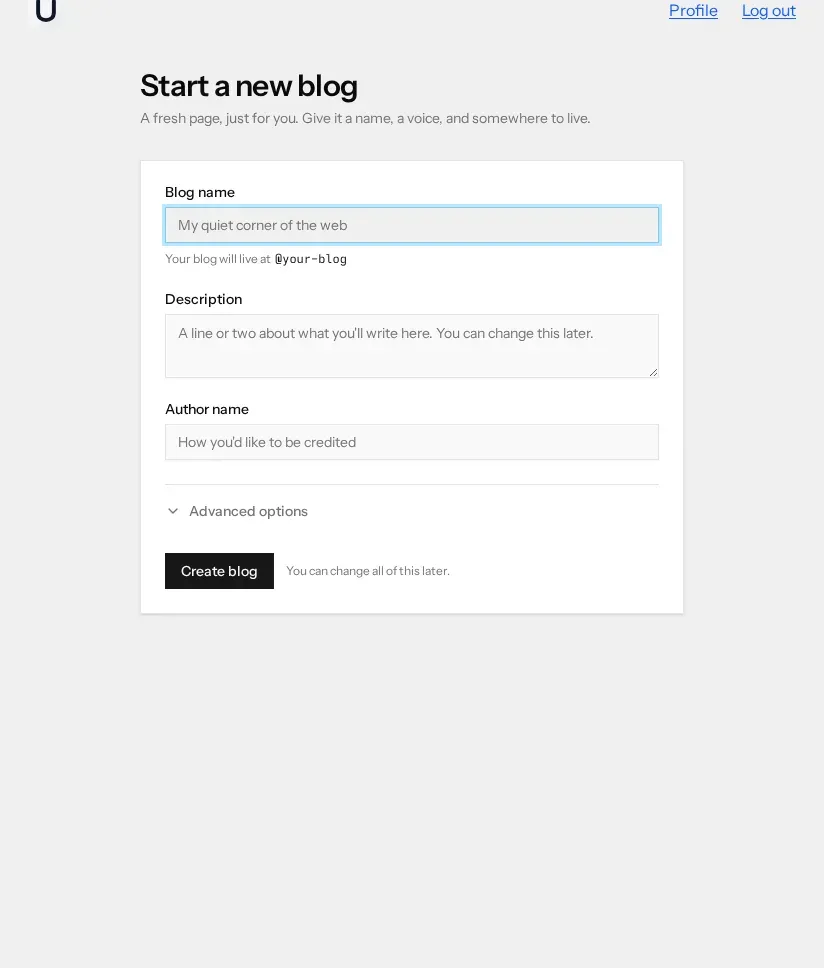
- Blog name — the title readers see. As you type it, the handle underneath fills in automatically: type The Weeknight Kitchen and the line reads @the-weeknight-kitchen.
- Description — a line or two about what you will write. It appears on the blog and in its feeds, and it is optional.
- Author name — how you want to be credited on this blog. It is separate from your account name.
Advanced options holds two more. Custom slug lets you override the handle the name generated, which matters because the handle becomes part of your address. Make this blog discoverable is on by default and decides whether the blog can turn up in the ULTRV web ring and public listings such as the explore directory. Turn it off if you want the blog to exist without being advertised.
Then Create blog. As the form says: you can change all of this later.
4. Your address
Every blog gets a free subdomain the moment it is created, built from the handle: a blog with the slug weeknight-kitchen is live at https://weeknight-kitchen.ultrv.blog straight away, with SSL. Nothing to configure, nothing to pay for.
If you own a domain and would rather use that, you can — on the free tier, at no extra cost. Point it at the blog under Settings → Domain, and once it verifies, a certificate is issued automatically and the blog's canonical address becomes your domain. That is its own job, so it has its own guide: custom domains.
5. Write and publish a post
A new blog opens on its Posts tab, alongside Pages, Statistics and Settings. Start a new post creates a draft called Untitled and opens it in the editor immediately — there is no "new post" dialogue to fill in first.
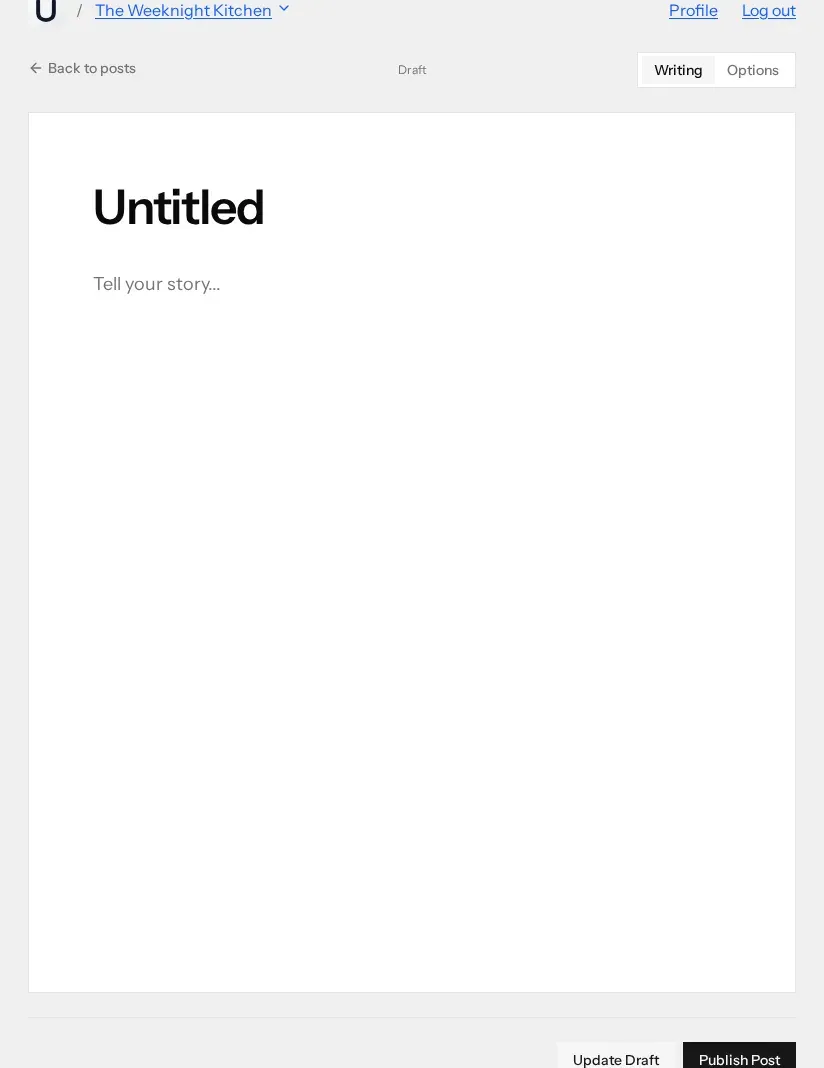
Replace Untitled with a real title and write underneath it. The body is a rich text editor: select a few words and a small toolbar appears, or start a line with ## and it becomes a heading. Nothing autosaves to the server, so Update Draft is worth pressing occasionally.
When you are ready, Publish Post puts it on the blog. The status in the header changes from Draft to Published and a View post link appears next to it. That is the whole publishing model; it is covered properly, along with slugs, tags and images, in writing and publishing.
What next
You now have a blog with something on it. In rough order of how much difference they make:
- Writing and publishing — the editor in full, drafts and unpublishing, tags, images, excerpts, and what the post list gives you.
- Themes and design — pick one of the themes and set typography and colour. This is the change readers notice first.
- Custom domains — move the blog onto a domain you own, so the address survives any decision we ever make.
- Importing an existing blog — if you are arriving from WordPress, Substack, Ghost, Medium, or a folder of Markdown files, bring the archive with you.
Reading this before signing up is a reasonable way round. Start your blog →